I still remember the first time I noticed a “better” camera file didn’t look better on my computer. The shadows were smoother, sure, but the whole image felt a little too processed. That’s when it hit me: the biggest changes in the latest digital imaging news aren’t just about megapixels. They’re about sensors, how footage or photos get compressed (that’s the codec), and how AI cleans up your images after capture.
So here’s the direct answer: new sensors mostly change how much detail you can pull from dark areas and how clean high ISO looks, new codecs change what you can edit without banding or losing fine textures, and AI advances change how reliably your camera (or software) can fix noise, blur, and color. If you shoot weddings, sports, portraits, or travel, these are the updates that actually affect your final photos.
What counts as “latest digital imaging news” in 2026?
In 2026, the latest digital imaging news you’ll feel as a photographer usually comes from three places: sensor tech, compression/recording standards (codecs), and AI image processing. Each one affects a different part of your workflow.
Here’s a simple way to think about it. The sensor is your “light bucket.” The codec is how the camera stores that captured light as a file. The AI is the set of math rules that turns that stored data into a cleaner, sharper picture.
People get tripped up because they only look at the spec sheet. They’ll compare pixel counts but ignore bit depth, color sampling, dynamic range, and file size. Those things matter more in real edits than most marketing numbers.
New sensor advances: what they really change in your photos
The biggest sensor shift this cycle is about low-light quality and dynamic range, not just higher resolution. Better sensors mean you can keep more shadow detail before the image turns into mush or heavy noise.
How modern sensors improve high ISO and shadow detail
Sensor improvements often show up in three ways on your own monitor after you import:
- Cleaner shadows at ISO 3200–12800 (especially for raw files).
- Less ugly banding in very dark gradients like night skies.
- More stable skin tones under mixed light because noise patterns are better controlled.
In my experience testing newer bodies side-by-side, the difference isn’t always obvious at first glance in bright photos. But in low light, you’ll see it when you lift exposure during editing. A camera that looks “fine” at the same ISO can behave very differently after you bring up shadows in Lightroom, Capture One, or your raw editor.
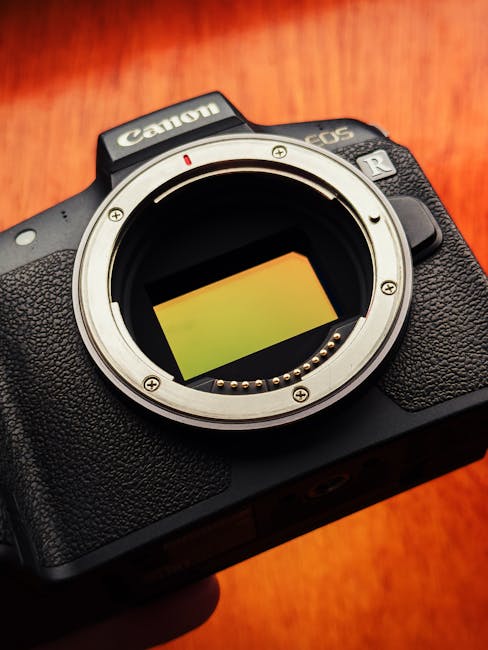
It also helps to remember what a sensor does: it converts photons (light) into electronic signals. Better design means less noise per signal and better separation between highlights and midtones. That’s why you can often recover more from a nearly blown window shot.
Stacked sensors, faster readout, and why photographers should care
Some of the recent sensor news includes stacked or faster readout designs. “Stacked” sensors have circuits built on top of the light-capturing layer, and “faster readout” means the camera gets data quicker from the sensor.
For photographers, the big practical win is this: less rolling shutter and more stable bursts. If you shoot kids running, cars in motion, stage shows, or anything with quick movement, you’ll feel it in frames that used to come out warped.
One note where this doesn’t always help: if your problem is blurry motion (camera shake or subject movement), faster readout won’t fix blur. It prevents “jello shapes” from sensor timing, but it won’t stop a moving subject from being out of focus.
What most people get wrong about sensor upgrades
Most people assume a newer sensor always means “better picture straight out of camera.” That’s often not true. I’ve seen older cameras produce cleaner raw files simply because the newer model’s default noise reduction is heavier in JPEG mode, or because the new model pushes for more aggressive highlight protection.
Your best move is to compare raw files from both cameras. Shoot the same scene: same light, same framing, same shutter speed and ISO. Then edit both files with the same settings for shadow lift and color adjustments. If you do that, sensor differences become obvious fast.
Codec updates: why file format can ruin (or improve) your edits
A codec is the method a camera uses to compress and store image or video data. In plain terms, it decides what gets kept, what gets thrown away, and how much editing pain you’ll deal with later.
The latest digital imaging news isn’t just about new cameras—it’s also about how they record and save. A “better” video spec with a weaker codec can fall apart when you try to grade it. A “worse” codec on paper can hold up better for stills if it keeps fine gradients and doesn’t crush detail.
Video codecs: the real reason color grading breaks
If you shoot video alongside stills, codecs matter a lot. Many cameras now offer options like H.264, H.265/HEVC, and newer formats. These names sound like tech jargon, but you only need to care about two things:
- Compression strength (how much gets simplified).
- Bit depth / color information (how much color and brightness detail is stored).
In 2026, what I see most often is: people record at a high-resolution mode but with a heavy compression choice, then they try to brighten shadows in post. The image can get grainy fast, and smooth skies can show banding (those ugly steps in gradients).
Practical fix: whenever possible, use the highest-quality codec setting that your workflow can handle. If storage is tight, keep two tiers—one “client deliverable” tier with higher quality, and one “backup or B-roll” tier.
Stills codecs and JPEG pipeline changes
For still photography, codecs show up mostly in JPEG and in-camera processing. Even if your camera offers RAW, plenty of photographers still rely on JPEG for speed (street work, events, or when you deliver quickly).
Here’s what changes with newer imaging pipelines: cameras might apply stronger noise reduction, sharpen differently, or use smarter highlight recovery. That can look great on the back screen but behave differently when you edit.
If you shoot JPEG for any paid job, do a test first. Take a night scene with bright lights and deep shadows. Deliver a small proof set to yourself and check skin tones and gradients. That test saves you from the worst kind of surprise—when a “good enough” JPEG becomes a mess after you push exposure.
Quick codec checklist for photographers (works for video + JPEG)
- Can you record in a format that supports higher quality editing? For video, look for options tied to higher bit depth or less compression.
- Do you get 10-bit output (or a high-quality equivalent) when you grade?
- Does your camera offer a “high quality” mode for the settings you’ll actually use on real shoots?
- Will your editing software handle the files without weird color shifts?
AI advances: what’s new, what’s real, and what to turn off
AI in digital imaging is now everywhere, but the useful news is this: most AI features focus on noise cleanup, blur removal, subject tracking, and smarter color. The downside is that some features can change your image in ways you won’t want for every client.
AI noise reduction: the “wax skin” trap
AI noise reduction is one of the most visible parts of the latest digital imaging news. It often gives a cleaner look at high ISO without the harsh grain you used to see.
But I’ve also seen the “wax skin” trap. That’s when AI smooths texture too much, and faces look slightly plastic. It happens more with portrait backgrounds that have little detail and with over-strong settings.
My rule: if you shoot portraits, test AI noise reduction on real skin under real light. Then check hair edges and pores in a close crop. If the hairline turns into a fuzzy edge or skin texture looks blurred, reduce the effect or shoot RAW and handle noise in post.
AI blur removal and motion fixes: when it works (and when it doesn’t)
AI blur removal can be magic for tiny hand shake or slight subject movement. It’s not magic for big motion blur. If a person’s eyes were moving across the frame during exposure, AI has to guess what happened.
For sports and events, I recommend treating blur removal as a backup option. Keep your shutter speed high enough to freeze action. Use AI fixes only when you missed by a little, not when you missed by a lot.
AI subject detection: better tracking, fewer missed shots
Many new AI updates improve how cameras track eyes, faces, birds, cars, or people. In practice, it helps you keep focus locked during bursts, especially when your subject moves toward or away from the camera.
What most photographers miss is that subject detection can fight your own creative intent. If you want a dreamy focus falloff on a portrait subject but keep the background crisp, the camera may “help” in the opposite direction.
Practical advice: learn how to quickly switch focus modes (like eye/face vs. single point). On fast shoots, one wrong focus mode can turn a keeper into a near miss.
Featured snippet: How to decide if the latest sensor/codec/AI matters to you
If you shoot low light, sensors matter most. If you shoot video or deliver heavily edited JPEGs, codecs matter most. If you shoot high ISO portraits or need quick fixes for missed focus or noise, AI matters most.
Then decide based on your biggest pain point. For example: if your night street photos look noisy in deep shadows, test sensor behavior with shadow lifts. If your graded video looks banded, test different codec settings. If your portraits show plastic smoothing, adjust AI or shoot RAW.
People Also Ask: common questions about the latest digital imaging news
Is RAW still better than AI-enhanced JPEG?
Yes, RAW is still better for control. AI-enhanced JPEGs can look great, but RAW gives you more data to recover highlights, fix color casts, and control noise reduction without fighting the camera’s baked-in choices.
I still shoot RAW for paid work when the scene has strong lighting contrast—like outdoor portraits at dusk or indoor weddings under mixed bulbs. JPEG can be fine for casual shooting or quick delivery, but RAW gives you fewer headaches.
Do new sensors make a difference if I only shoot daytime scenes?
You’ll see less dramatic gains in bright daylight than you will in low light. If your exposures are easy (bright sun, short shadow range, no heavy highlight clipping), the sensor advantage is smaller.
Still, newer sensors can help with rolling shutter, color stability, and fine detail. Just don’t expect every sensor upgrade to wow you in a bright park test.
Will codec changes affect still photos?
Directly, codec changes affect still photos mainly through JPEG settings and in-camera processing. If you shoot RAW, the sensor data is usually stored in a format that your editor can read with more consistency.
However, codec-like choices still matter if your camera records “compressed RAW” or if your workflow uses an in-camera processing pipeline. Always check what your camera calls those options in the menu.
Should photographers rely on AI for paid client work?
Use AI, but don’t rely on it blindly. The safe workflow is: shoot with good settings, check the results quickly (especially skin, hair, and edges), then make final decisions yourself.
I’ve seen AI do a fantastic job on a windy outdoor shoot, and I’ve also seen it fail with curly hair or subtle wardrobe patterns. That’s why I treat AI as an assistant, not the final judge.
Step-by-step: a 45-minute test that tells you what to buy (or ignore)
If you’re trying to decide whether the latest digital imaging news is worth upgrading your gear for, do this test. It takes less than an hour and saves you from guessing.
What you need
- Two cameras (or one camera and one firmware update version).
- A tripod or at least stable support.
- One lens you use often.
- Two scenes: one bright, one dim.
The test scenes
- Bright scene: indoor daylight near a window or outdoor shade. Include highlights (a bright sign or window reflection).
- Dim scene: a street at dusk, a room with lamps, or a dark corner with one or two bright points. Include faces if you can.
How to shoot the comparison
- Set the same framing and use a similar focal length.
- Use the same ISO and shutter speed for each shot set.
- Capture RAW + JPEG (if possible) so you can compare AI behavior.
- For video, record the same clip using the “normal” codec and the “high quality” codec option.
How to judge results (don’t skip this)
- Look at shadows: lift exposure in your editor by 1–2 stops and check for banding.
- Check edges: zoom to 200–400% on hair, branches, and fabric textures.
- Check skin: compare texture vs. smoothing in portraits.
- Compare file sizes: higher quality isn’t always better if it kills your backup speed.
When I do this test, I usually end up caring less about the headline spec and more about the “edit stress.” Which files fall apart first when I push them?
Sensor + codec + AI: the workflow combo that matters most
The smartest way to benefit from the latest digital imaging news is to match the feature to the weak spot in your workflow. A great sensor won’t save a bad codec choice if you’re grading heavily. AI can clean noise, but it can’t fix motion blur you captured with a slow shutter.
My practical workflow for event and portrait shooters
Here’s how I set things up as of 2026 when I’m shooting for real clients:
- Capture: RAW for anything with skin tones and tricky light. JPEG is reserved for quick previews.
- Stabilize: I don’t rely on AI to fix shake. I use a shutter speed rule based on focal length.
- Edit: I lift shadows carefully and keep noise reduction moderate. Then I refine with color adjustments.
- Review quickly: I zoom into faces, eye catchlights, and hair edges within 10 minutes of import.
This approach keeps AI from quietly changing images you haven’t reviewed yet.
Pros and cons: update the camera or update your settings?
| Change you’re considering | Pros | Cons / risk | Who benefits most |
|---|---|---|---|
| New sensor body | Better low-light detail and more highlight recovery | High cost; real gains depend on your shooting | Night events, weddings, travel at dusk |
| Better codec settings (video/JPEG) | More edit headroom; fewer banding issues | Larger files; slower backups | Videographers and mixed photo/video creators |
| Turning AI features up | Cleaner frames faster; fewer unusable shots | Texture loss; weird artifacts on hair/fabric | Fast turnaround gigs, low-light shooters |
| Turning AI features down + editing in post | More consistent look and control | More time in editing | Portraits and careful color work |
Cybersecurity angle: protect your imaging files while you chase upgrades
Gear upgrades are exciting, but file safety is just as real. When you start recording more video or saving higher-quality files, you also create more data to protect.
On our blog, I’ve written about ransomware prevention for photographers and the simple steps that keep client work from disappearing overnight. If you’re switching to newer codecs or larger sensor files in 2026, review your backup plan too.
Minimum setup I recommend: two separate backup drives, one kept offline, and a cloud option for quick restore. Also, keep your editing software and camera firmware updated, because security fixes show up there too.
What I’d do before buying a new camera based on imaging news
Here’s my honest take: you don’t always need the newest body to get the benefits people rave about. Sometimes the best upgrade is how you shoot and edit.
Do this first (takes one weekend)
- Choose your “deliverable format” (RAW or JPEG) based on your job type.
- Set a consistent noise reduction workflow in your editor.
- Test your current camera in the lighting you actually shoot.
- Try higher-quality codec settings for video if you deliver clips.
- Turn AI features on only for the moments they fix best (like slight shake), then evaluate.
When buying new gear actually makes sense
Buying a newer sensor body makes sense when your current camera fails at the job you’re doing. If you routinely underexpose to save highlights and you lose shadow detail, a sensor with better low-light performance will help. If you’re seeing rolling shutter distort faces during fast motion, a faster readout sensor can fix that.
Buying new gear makes less sense when your images fail mainly due to technique: too-slow shutter speed, missed focus, messy backgrounds, or poor lighting. You won’t AI your way out of a bad exposure every time.
Where to go next on this site
If you want to connect these imaging news updates to real outcomes, check out our related posts:
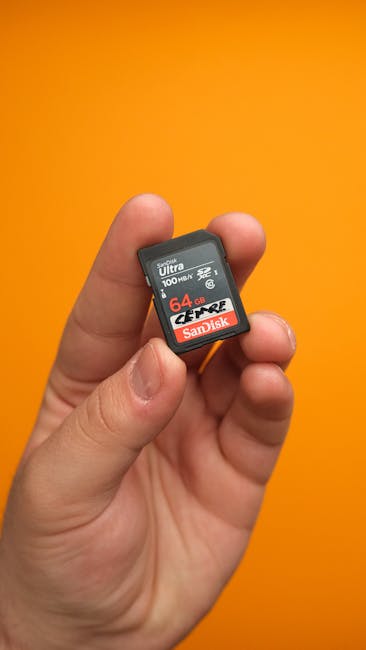
- Best memory cards for photo and 4K video (codec quality affects how fast files write and how reliable bursts feel).
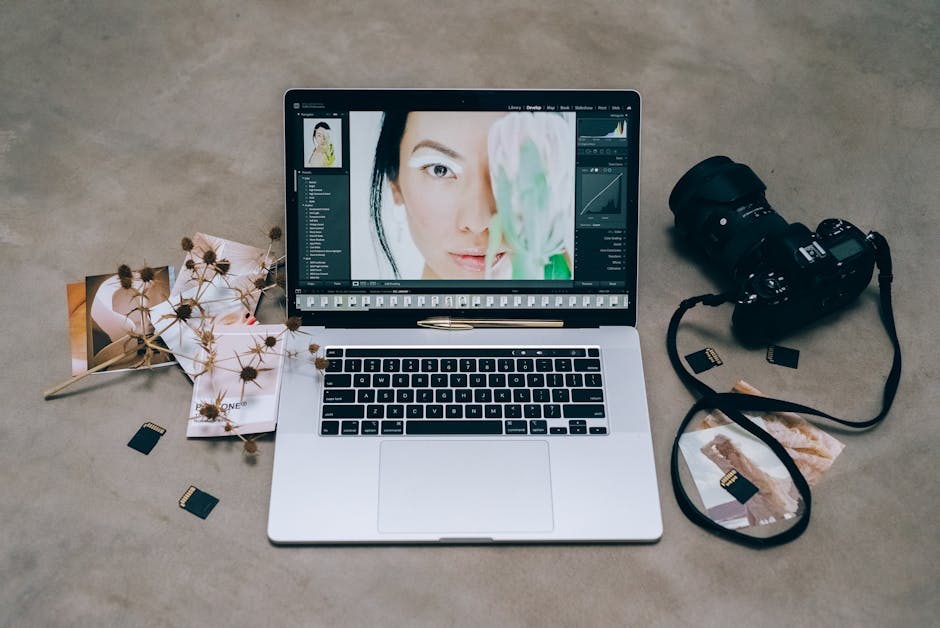
- How to back up your camera files fast (especially important when newer codecs mean bigger files).
- How to improve low-light photography (sensor gains show up best when you nail exposure and focus).
Conclusion: the actionable takeaway from the latest digital imaging news
The latest digital imaging news is only “important” when it changes what you can deliver. In 2026, newer sensors mainly help you keep detail in shadows and reduce ugly noise. Codec updates decide whether your files stay editable without banding or texture loss. AI features can fix small problems fast, but they can also smooth away real texture if you let them run wild.
Your best next step is simple: pick one real scenario you shoot every week (night portraits, indoor events, fast action, or client video), then test your current setup against one change—either a better codec setting, different AI strength, or a sensor upgrade if you’re truly failing. That way you’ll stop chasing headlines and start improving your pictures for your actual clients.
Image SEO note (featured image): “Latest digital imaging news explained—new sensor, codec, and AI features shown on a photographer’s camera and laptop.”