

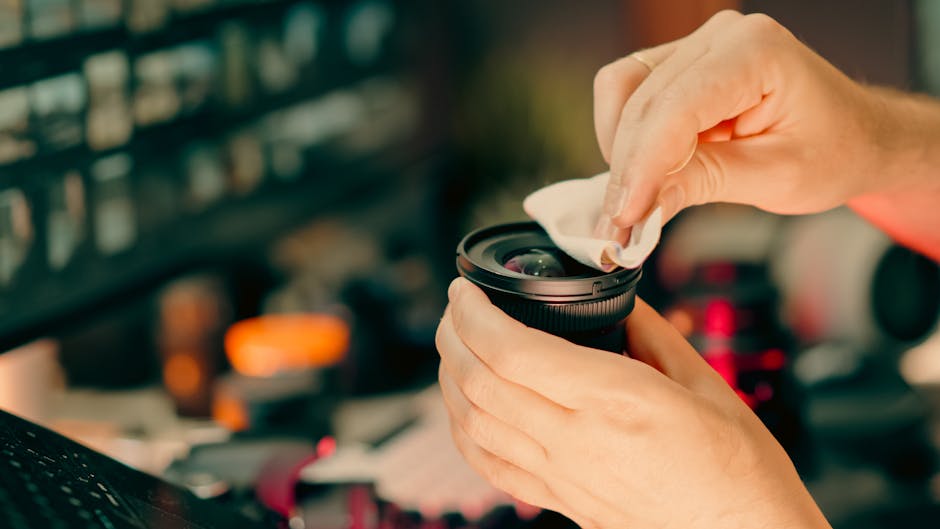
You know the sound. It’s not a dramatic alarm—just the quiet pop of a lens cap and then the slow realization: your glass is fogged. That fog isn’t “bad luck.” It’s usually humidity + temperature swings, and it happens fast when you move gear between a cold exterior and a warmer studio.
In plain terms, climate control in a photography studio means keeping temperature stable and humidity in a safe range. When you do it right, you cut down lens fogging, stop mold from getting a foothold, and reduce the dust that sticks to sensors during wipes and cleaning.
Why lens fogging, mold, and sensor dust all start with humidity and temperature
Lens fogging is condensation. Condensation happens when a warm, wet (or humid) air mass hits cooler glass. Your camera sensor doesn’t get fogged the same way through the lens, but the same air can bring moisture into the body seals and into the space around the sensor when the camera is open.
Mold is the next step. Mold grows when moisture stays on surfaces long enough. In studios, that often means walls, window frames, and even storage cabinets that trap damp air.
Sensor dust is different but linked. When you open a camera to clean, you expose the sensor to the studio air. If air is dry and stable, dust tends to stay airborne longer and doesn’t “stick” as aggressively. If air is muggy and warm, dust can pick up moisture and cling more.
Target ranges for a photography studio (use these numbers)
Here are the settings I aim for in a working studio, based on years of shooting and dealing with seasonal problems. These targets are also the kind of ranges many rental studios copy because they keep gear happy.
- Relative humidity: 40–50% for day-to-day work. Keep it under 55% to strongly reduce mold risk.
- Temperature: 68–72°F (20–22°C) during shoot hours. Keep changes small (ideally within 2–3°F).
- Stability: aim for slow changes, not big swings when the HVAC turns on/off.
Definition: Relative humidity (RH) is how much moisture is in the air compared to what the air could hold at that temperature. RH is what matters for condensation and mold, not just “how humid it feels.”
If you’re in a very dry climate, you can raise RH a bit (sometimes with a humidifier), but in most places the bigger issue is too much humidity, especially in basements and rooms with outside walls.
Build a climate-control plan: measure first, then control
Your first job is to stop guessing. If you don’t measure, you’ll chase problems. Fog one day, mold thoughts the next, then a sensor dust cleaning session you didn’t plan.
Step 1: Place sensors where fog and mold start
I recommend using at least two small monitors (you can get them for under $50 each). Put one near where lenses sit and one near the most problematic wall or window.
- Near lens storage: 3–5 feet away from cabinets, not right on top of a dehumidifier.
- Near exterior exposure: close to the outer wall, especially if it gets cold.
Don’t rely on your HVAC thermostat reading. That sensor is often in a hallway and doesn’t see the real conditions in the studio corner where you store gear.
Step 2: Check your dew point (the condensation trigger)
Dew point is the temperature where air becomes saturated and condensation starts. If your glass or lens barrel is near the dew point, fogging is likely.
Use a dew point calculator or a monitor that shows dew point. The goal is simple: keep the studio air conditions such that lens glass stays comfortably above the condensation point.
Real-world scenario: Last winter, a client’s studio kept the thermostat at 74°F, but the exterior wall was cold. Their RH read “okay” on the hallway sensor, but the lens storage cabinet sat in a colder pocket. The first time they turned lights on and warmed the room slightly, fog appeared inside the cabinet doors. Two monitors revealed the cabinet zone was running much higher RH.
Step 3: Choose an approach: HVAC changes vs dehumidifier + air movement
You have two common paths. In many studios, the best plan is a mix of both.
- HVAC-focused: adjust cooling/heating setpoints and add better airflow. Works best in climates where HVAC can handle humidity well.
- Humidity-focused: add a dehumidifier and run gentle circulation. Works best when the room struggles with moisture even with normal HVAC.
What most people get wrong: they only lower the temperature. Cooler air can make RH look better at first, but the actual moisture load and dew point can still create condensation on cold surfaces.
Design the airflow so warm air doesn’t “hit” cold lenses
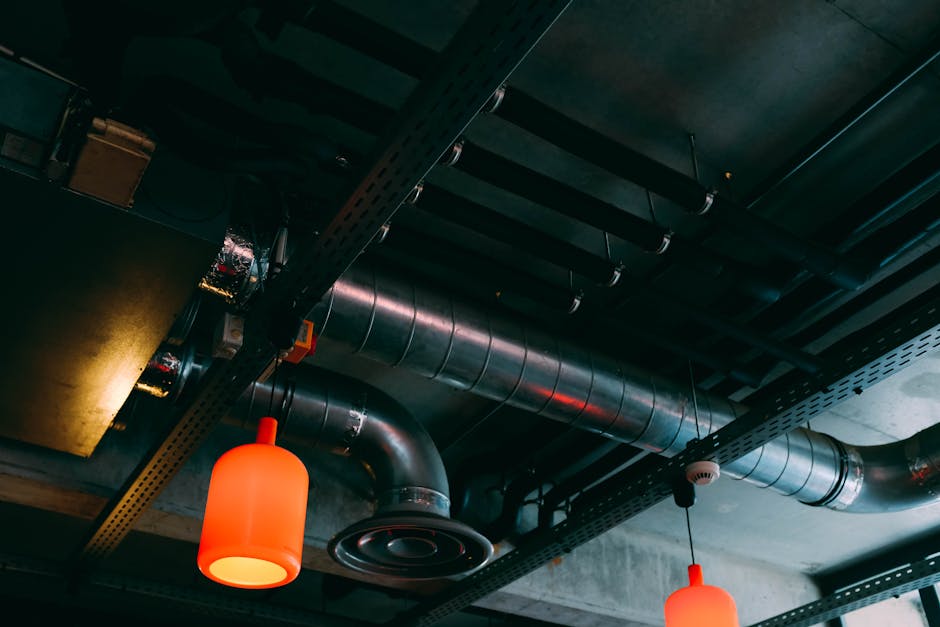
Climate control isn’t just temperature. It’s how air moves. Stagnant air creates cold pockets. Direct blasts create sudden temperature jumps on glass.
Where to place fans and vents
In my setups, I avoid pointing vents directly at lens storage or at the camera cleaning table. Instead, I use low, steady circulation to prevent cold pockets.
- Use ceiling or wall-mounted diffusers so air mixes gently.
- Keep air from blowing straight across stored lenses.
- If you use a fan, run it on a low setting for steady mixing, not on high for quick gusts.
Pro tip: Place your camera cleaning station away from exterior walls. The biggest dust problem shows up when you open the camera in a spot where air is moving chaotically.
Gear staging: acclimate before you open bags
Fogging usually happens during “bring it in and use it now.” A simple routine helps a lot.
- Bring camera/lens in a bag room-temperature setting first.
- Leave it sealed for 20–45 minutes (longer in winter or if outdoor temps were far colder).
- Open the bag inside the studio zone only after the glass feels less cold to the touch.
- Only then remove caps and start shooting.
I know this slows you down at first. But after you do it for a few sessions, it becomes muscle memory—and you stop losing time to foggy takes.
Stop mold before it starts: control moisture + storage habits
Mold prevention is mostly about not giving moisture enough time. Even a small RH spike repeated day after day can be enough to cause trouble in hidden spots.
Use dehumidification where HVAC can’t reach
If your studio has a basement feel or an exterior wall that stays cold, consider a dedicated dehumidifier. Set it to control RH (not “run all day”). A good target is around 45–50% RH during work hours.
Also check drain and water bucket handling. A dehumidifier that stops because the bucket is full is worse than having none at all.
Dry storage is about more than desiccant
People love silica gel packets. They help, but they don’t replace room-level control. In 2026, the best practice I see in real studios is layered protection:
- Room RH control (HVAC/dehumidifier)
- Sealed gear bins with desiccant (small, easy to replace)
- Regular surface checks in corners, behind tripods, and inside cabinets
If you store lenses in a foam-lined case, make sure it’s not trapping damp air. I’ve seen fog start inside cases because the case is colder than the room at night, then RH inside spikes.
What to do if you already see musty smell or spots
Don’t just clean the surface and hope. Mold spores can spread into fabric wraps, lens boxes, and soft diffusers.
- Identify the moisture source (often a cold exterior wall or leaking AC condensate).
- Dry the area and keep RH below 55% for several weeks.
- Replace any porous materials that show heavy growth (diffusers, certain foam, old cloth backdrops).
If it’s small and you catch it early, cleaning can work. If it keeps returning, the climate problem is bigger than the visible spots.
Prevent sensor dust the “climate way” (and reduce how often you open the camera)
Sensor dust isn’t just about being careful. It’s about how you work in air that stays stable. When the studio environment is controlled, you reduce the amount of dust that lands on open sensor areas.
Keep dust down with routine, not constant cleaning
Here’s my low-drama routine that works for most studios:
- Vacuum floors and corners before clients arrive (or before you start a shoot day).
- Wipe down hard surfaces and the cleaning bench with a proper cleaner.
- Use a soft cover for lights and stands so dust doesn’t blow around when you adjust them.
- Change air filters on schedule (more often than you think during dusty seasons).
The key is fewer “open camera” moments. If you’re cleaning the sensor often, you’re doing extra exposure time and inviting more dust than necessary.
Use a cleaning zone with calmer air
Place your cleaning tools in a zone where air movement is minimal. No direct HVAC blast. No standing fan pointed toward the table. If you must open a camera, keep it inside a small closed area like a clean tent setup if you have one.
I prefer to do cleaning between shoots, after surfaces have been stabilized and dust has settled. If you clean right after moving gear around, you’re basically cleaning while dust is still floating.
Build your setup: HVAC, dehumidifiers, and controls that work together
A common problem in studios is that HVAC cools/heats but doesn’t manage humidity in the exact spot you need. In that case, you need either supplemental humidity control or better system tuning.
What I recommend for a typical studio (example configuration)
Let’s say your studio is 60–120 m² (or roughly a 650–1300 sq ft space). You often need even temperatures and tighter humidity control.
- Primary climate system: HVAC with dehumidification mode or a properly sized air conditioner/heat pump.
- Supplemental dehumidification: one dehumidifier targeted to the dampest zone.
- Air mixing: gentle circulation (not direct blasts).
- Monitoring: at least two humidity/temperature sensors.
If you’re unsure about sizing, don’t guess. A unit that’s too small runs forever and never stabilizes RH, which is the worst case for condensation and mold.
Controls and scheduling for real shoot days
In 2026, I’m seeing more studios use smart schedules so the climate stabilizes before clients arrive. The idea is to avoid big on/off swings.
- Run climate control 1–2 hours before a shoot day.
- Stop aggressive changes during the shoot (avoid turning HVAC from high to low mid-session).
- Set RH limits if your system allows it.
If you run a lot of heat for lighting, monitor RH after you turn lights on. Studio lights can change the air conditions even if the thermostat stays steady.
People also ask: quick answers photographers want
What humidity level prevents lens fogging?
Keep indoor RH around 40–50%. When RH climbs above ~55%, condensation risk goes up—especially if the lens is cold compared to the room. The real “danger zone” depends on dew point, but 40–50% is a great target for daily shooting.
Can air conditioning cause mold in a photography studio?
Yes, if it’s not draining properly or if humidity isn’t controlled. AC can remove moisture, but if condensate drains fail, water can build up. Also, if your room stays cold at night while RH stays high, you can still get condensation on surfaces.
Does sensor dust get worse when it’s humid?
Often, yes. Dust can stick more when moisture is present. Humidity also increases the chance you’ll wipe or open the camera more often because fogging makes handling harder. Better climate control means fewer “emergency” actions.
How long should I acclimate camera gear to the studio?
If the gear is only slightly colder than the room, 15–30 minutes is usually enough. If it’s winter-cold or you brought gear from a car in extreme heat, give it 20–45 minutes sealed, then unpack after the glass feels less cold.
Common mistakes I’ve seen (and how to fix them)
These are the issues that keep coming up in real studio visits. They’re also the reason so many photographers think “it’s just the weather.” It’s usually a setup problem.
Mistake 1: Using only temperature, not humidity
Temperature alone can look fine on a thermostat, while RH in storage cabinets stays high. Always measure at gear level and near exterior walls.
Mistake 2: Storing gear in closed foam cases in damp rooms
If the room RH is high at night, closed cases trap that condition. Use sealed bins with desiccant, but still control the room.
Mistake 3: Direct HVAC airflow onto lenses
A strong vent blast can cool a lens fast enough to create fog when warm humid air flows over it. Keep airflow mixing gentle.
Mistake 4: Big HVAC swings during the day
Turning the system on high right before clients arrive can overshoot humidity control. Stable beats aggressive for fog and mold prevention.
Where to get the right heating, cooling, and humidity help (practical buying direction)
If you’re updating a studio HVAC plan, it helps to pick equipment that matches your space and your humidity issues. In many projects, the best results come from choosing the right heating/cooling approach and pairing it with airflow and moisture control.
For example, if you’re in a region where studios need both temperature control and steady humidity management, looking at category options like air conditioners and related accessories can speed up your planning. You can compare wall, ceiling, and duct-style indoor units and think about where airflow will land.
For a Lithuanian-based supply and planning route, I often point people to termo1 because they carry a wide range of heating, ventilation, and air conditioning gear in one place. That’s useful when you need to coordinate studio comfort without guessing across five different sites.
If you’re also dealing with seasonal cold and want stable indoor climate, equipment sizing and installation details matter just as much as the brand. In climate-control projects, the “best” system is the one that keeps RH in range consistently, not the one with the highest spec sheet number.
Quick 2026 checklist you can use today
Use this checklist like a studio preflight. It takes about an hour and prevents a lot of later headaches.
- Measure: put two RH/temperature sensors in gear storage and near an exterior wall.
- Set targets: 40–50% RH and 20–22°C during shoot hours.
- Plan airflow: avoid direct vents aimed at lenses or the cleaning table.
- Acclimate gear: seal bags 20–45 minutes before unpacking in cold/hot swings.
- Control moisture: add a dehumidifier if the room can’t hold RH under 55% consistently.
- Reduce cleaning: clean less often by stabilizing air and dust levels first.
- Check storage: inspect cabinet corners and sealed cases; replace porous items with heavy growth.
If you want to keep your studio stable and your workflow tight, treat climate control like part of your gear setup—not an “HVAC problem” you can ignore. Your lenses and sensor will thank you the same way your clients will: fewer delays, fewer wipe-offs, and fewer last-minute rescues.
Conclusion: set stable RH first, then temperature—and fog and dust usually get easier
Here’s the takeaway I’d tell any photographer building or fixing a studio: keep RH around 40–50%, keep temperatures steady, and stop cold pockets from forming around your gear. Do that with proper sensors, gentle airflow, and dehumidification when needed, and you’ll cut lens fogging, slow mold risk, and reduce sensor dust problems from chaotic air.
Once your studio air is stable, you’ll notice something else too: your whole day runs smoother because you’re not constantly reacting to conditions. Climate control becomes invisible. That’s the goal.
termo1 can be a helpful starting point if you’re shopping for heating, ventilation, and air conditioning equipment that fits your studio needs.