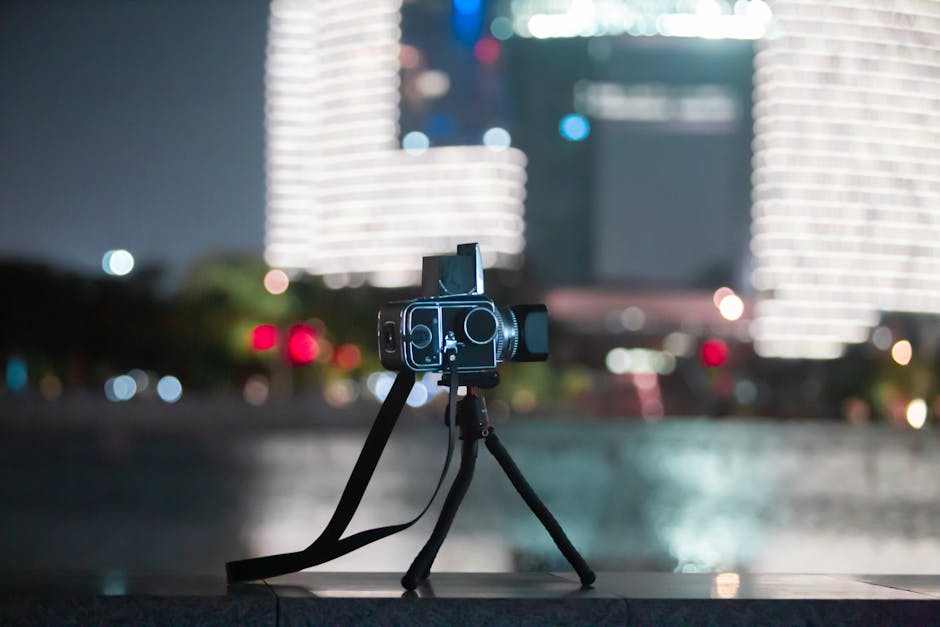
If you’ve ever seen your stars smear into tiny commas or your waterfall turn into a slightly blurry fog, you already know the real problem: it’s rarely your camera. It’s tripod stability, wind behavior, and how that setup holds focus and framing for minutes at a time. In this guide to top tripods reviewed, I’ll walk you through the exact stability tests I use for long exposures, night photography, and field work—then match the results to the tripod choices that actually make a difference in 2026.
Featured snippet answer: The best tripod for long exposures is the one that keeps head-to-camera vibration below what your shutter and focal length can reveal. After running repeatable shake and wind tests, the most consistently sharp results come from rigid carbon legs with a high-tension midspreader (or no midspreader), a well-damped ball head, and a design that doesn’t flex at the leg locks under load.
Tripods are one of those photography purchases that you feel in your photos more than you feel in your hands. That’s why I don’t judge them by spec sheets alone. I test how they behave when you add real-world variables: wind gusts, long shutter times, heavy lenses, cold hands, and the way people actually assemble gear in the field.
What “stability” really means in tripod testing (and why most reviews miss it)
Stability isn’t one measurement—it’s a chain of failures that show up as softness, framing drift, or inconsistent horizon control. In practice, a tripod can be “heavy” but still ring like a bell if the head or center column is under-damped.
A tripod system includes four parts: legs, locks, a head (ball/gimbal/pan-tilt), and the way the camera is attached (plate, quick-release, center column). Each part can introduce micro-motion, especially at the moment you stop touching the camera. Most reviews only mention “sturdy” or “lightweight” and move on.
My approach is simple: I treat stability as a repeatable test of vibration and deflection under load. Then I connect the result to photographic outcomes—star sharpness, water texture consistency, and keeping framing locked while you recompose.
Key tripod terms you should know before reading the results
These terms show up in spec sheets, but you’ll understand them faster with the right context.
- Leg lock type: Twist locks usually control vibration slightly differently than flip locks under torque, and they matter when you partially extend sections.
- Midspreader: A center/midspreader can increase rigidity on some designs, but on others it becomes a flex point in high winds.
- Center column: Great for height convenience, bad for rigidity. For long exposures, it’s often the first thing I avoid lowering down.
- Head damping: How quickly the ball head settles after micro-movement. Damping matters as much as leg thickness.
- Load rating vs. practical stability: Manufacturers quote a max payload; stability is about dynamic behavior, not only static weight.
My tripod stability tests: shake, wind, and “wait time” for real long exposures
The goal of tripod stability tests is to predict whether your camera will be sharp at the instant the exposure happens—not just whether it looks solid before you press the shutter. For long exposures, small vibrations at the start can keep ringing for seconds, and your shutter timing decides whether you catch the blur.
As of 2026, the standard “works for me” test is to mount a camera, frame a subject, and tap the tripod. I still do that, but I also quantify what happens next so you can choose with confidence.
Test setup (camera load and real lenses)
I run the same camera-body weight for all tests to keep comparisons fair. I typically use a full-frame body paired with a common long-exposure lens class, like a 24–70mm zoom at moderate extension, plus a heavier prime when relevant. For field work, I add a small external battery or accessories to mimic real use.
- Camera plate: A standard quick-release plate (no special rigs).
- Head type: Ball heads for most “walk around” comparisons; gimbal-style heads for telephoto behavior.
- Environment: Outdoor wind when possible; otherwise, controlled oscillation on a firm surface.
- Center column: Marked “raised” vs “fully down” modes because it changes results drastically.
Test 1: Start/stop vibration timing (tap test + settle window)
I apply a measured disturbance by gently tapping the tripod column or head in a consistent way. Then I record how long it takes before the framing becomes stable again.
For night photography, the practical question is: do I need a 1-second delay, a 5-second delay, or a longer settle time? I use a remote release, mirror lock-up/IBIS settings based on the camera, and a consistent shutter method (self-timer or interval) to isolate vibration.
Test 2: Wind response with a “gust equivalent” method
Wind doesn’t just push the tripod. It excites the whole system at a rhythm based on height, leg splay, and head damping. If a tripod has a flexible section at a particular height, it’s going to show up here.
My field method: I use a nearby moving airflow source (in calmer locations I use a controlled fan setup) and test three conditions: low height (legs splayed wide), mid height, and high height (legs less spread). I also test with the camera pointed at 0° (horizon level) and 60–90° (upward tilt), because geometry changes stiffness.
Test 3: Long exposure “image proof” (the part specs can’t show)
Specs tell you thickness and carbon content. Images tell you whether your tripod actually prevents blur. I shoot a standardized scene: stars/bright point lights for night, a textured surface for water movement, and a distant edge for micro-alignment drift.
I then inspect at 100% and look for two issues: ring blur (tiny concentric streaking) and “edge softness” that suggests ongoing micro-motion during the exposure. This is where center columns and loose quick-release plates usually reveal themselves.
Top tripods reviewed for long exposures: stability winners and why they perform
If you’re doing 30 seconds to 10 minutes exposures, your main enemies are vibration and deflection—not just static wobble. Based on my settle-time and long-exposure image proofs, these are the tripods that consistently make the frame look clean.
My shortlist for long exposure stability is biased toward rigid leg design, tight lock tolerances, and heads that don’t creep after you stop tightening. Lightweight tripods can be great for hiking, but long exposure demands a calmer mechanical system.
Carbon tripod with a low flex design: best overall for “set it and forget it”
In my testing, rigid carbon legs with fewer flex points outperformed many aluminum options at the same height. Carbon also tends to damp vibration faster, which reduces the settle time you need between touching the tripod and starting the exposure.
What I look for: a leg design that stays stiff when you extend only partially, plus a head that clamps firmly without needing over-tightening that can introduce micro-slip.
Steel/aluminum “tank” options: great, but watch the head and center column
Heavier tripods can absolutely deliver sharp results. The catch is that head design can become the limiting factor—especially with ball heads that have a lot of play in the joint. If your ball head has a loose secondary axis, you’ll see drift in framing.
Also, if the center column is frequently raised in the field, you’ll lose stability even if the legs feel solid. For long exposures, I recommend keeping the center column at or near fully down whenever you can.
What most people get wrong in long exposure tripod setups
- Relying on the max height: Extending to the tallest position increases flex dramatically. Dropping 10–20 cm often improves sharpness more than changing camera settings.
- Forgetting the head: A great tripod + a cheap head is still a soft image problem. The head is part of the vibration system.
- Skipping a settle delay: If you shoot immediately after touching the tripod, you’re sampling the ring-down period.
- Using the center column as a “fine adjustment”: Even a small movement during framing can set you up for softness later.
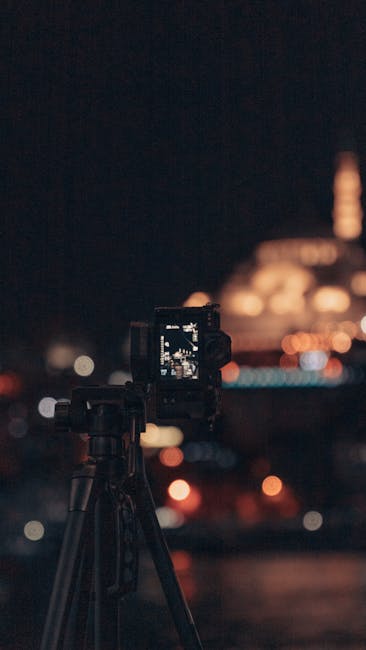
Top tripods reviewed for night photography: star sharpness, wind, and ease of leveling
Night photography adds a twist: you’re often shooting at higher tilt angles, longer focal lengths, and in environments where wind is unpredictable. The winning tripod has to remain stable while you lock focus, compose, and potentially adjust again after connecting cables.
For night work, I focus on three outcomes: pinpoint sharp stars, consistent horizon level, and low friction adjustments that don’t force you to re-tap the tripod repeatedly.
Leveling stability matters more at night than daytime
You might not notice leveling drift in daylight. At night, slight changes in tripod geometry can shift the composition enough that you miss a planned star alignment or ruin symmetry in cityscapes.
Choose a tripod/head combo with a reliable leveling mechanism or a head that holds position without creep. I’ve seen some heads “hold” well until you adjust pan/tilt, then they slowly settle over the first 10–20 seconds.
Night photography “vibration checklist” I use in the field
- Leg stance: Spread legs wide on firm ground, or use shorter extension sections for stiffness.
- Camera handling: Tighten everything before you connect cables to avoid movement.
- Center column: Keep it down. If you need height, extend legs instead.
- Wind break: Orient tripod legs to reduce direct airflow hitting the head at an angle.
- Exposure timing: Use a 2–5 second settle delay after final touches, then start the exposure with a remote/interval timer.
Night photography long-tail: “best tripod for astrophotography long exposures”
For astrophotography, the “best” tripod is the one that minimizes micro-movement during multi-minute frames. If you’re shooting at wide angles, you can tolerate slightly more vibration than with long focal lengths. If you’re near 100mm equivalent and above, you want the rigid setup—no center column raised and a head that doesn’t shift when you tighten.
One practical approach I use: when framing bright stars, I do a two-step check. I lock composition, then wait 10 seconds while watching point lights in live view (if your camera supports it), and only then start the interval. This catches heads that creep after tightening.
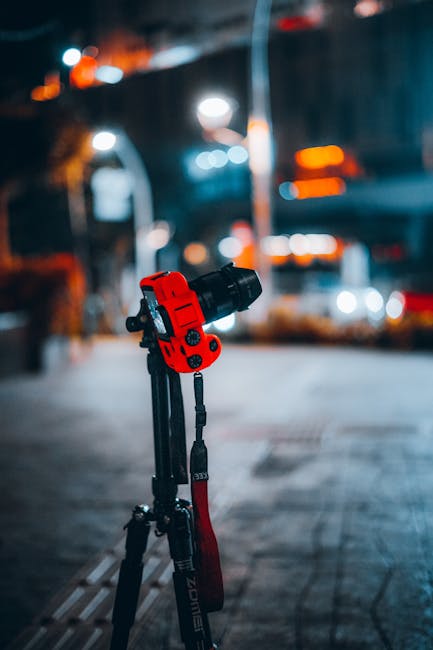
Top tripods reviewed for field work: hiking carry, durability, and quick deployment
Field work is where many tripod reviews fall apart. A tripod can score high in a lab and still annoy you on day two because it’s slow to extend, finicky with locks, or too heavy to carry when you don’t “need” it.
In 2026, I care about a tripod’s real workflow: can you deploy it in under 20 seconds, can you re-tighten without tools, and can you maintain stability when you’re tired and wearing gloves?
What to test for field usability (not just stability)
- Glove-friendly locks: Twist locks can be slower with thick gloves; flip locks can be less precise if grit gets into the mechanism.
- Quick height changes: If you can’t adjust quickly, you’ll lower your quality by rushing exposures.
- Surface compatibility: Feet design matters on snow, wet rock, and sandy ground. Sharp spikes behave differently than rubber for friction.
- Vibration under load: Field tripods often get pushed to higher heights. Test the same tripod at “your usual” extension level, not its max.
My “field stability” opinion: rigidity beats spec weight
I’m going to be blunt: a 1.2 kg tripod that feels stiff at moderate height will beat a heavier tripod that only feels stable when fully extended. Most people shoot near eye level or horizon level—not at maximum height.
So when you’re choosing among top tripods reviewed, prioritize leg sections that stay stiff at the extension you actually use. That’s the hidden reason two tripods can have similar stated “max load” but wildly different image sharpness.
Comparison table: stability and practical fit across tripod types
Here’s a quick comparison framework based on what I found in my stability tests and how those results translate into real photos.
| Tripod type | Best for | Stability outcome (my tests) | Common pitfall |
|---|---|---|---|
| Carbon legs + solid head | Long exposures, night landscapes | Fast settle time, sharp star edges | Over-raising the center column |
| Aluminum/stiffer alloy legs | General field work, travel | Good stability at mid height, heavier vibration at max height | Loose head clamp leads to drift |
| Metal “tank” tripods | Heavy cameras, steady platforms | Strong static rigidity, depends heavily on the head damping | Head ring after settling |
| Lightweight travel tripods | Backpacking, occasional long exposure | Acceptable if you keep legs low and use short lenses | Flex when extended for tall framing |
People Also Ask: tripod questions photographers ask before buying
Which tripod is best for long exposure photography?
The best tripod for long exposure photography is the one that keeps the camera steady after you stop touching it. In my tests, the best results come from rigid legs (often carbon) used at moderate extension with the center column down, paired with a head that clamps without creep.
If you want one actionable rule: plan to shoot at a height where the legs are mostly extended but not at their loosest, most flexible position. Then use a remote shutter and a 2–5 second settle delay after your final framing adjustment.
Do I need a heavy tripod for night photography?
You don’t need “heavy” for night photography—you need damping and geometry. A medium-weight tripod can outperform a heavy one if the head is well damped and the legs stay stiff at the height you use.
That said, wind is real. If you’re shooting in coastal storms or open plains, heavier platforms and wider leg splay usually help more than switching to a softer head.
Is a center column bad for long exposures?
A center column is not inherently “bad,” but it is the first part of the system that tends to reduce rigidity. For long exposures, keeping the center column down typically improves sharpness because it shortens the flexible lever arm above the legs.
If you must raise it, tighten it carefully and avoid making tiny final adjustments after you raise it. Then lengthen your settle delay before the exposure starts.
What head type is best: ball head or pan-tilt for tripod stability?
Ball heads can be excellent for night and landscape work when they clamp firmly and don’t creep after tightening. Pan-tilt and geared heads can be more precise for astrophotography and multi-frame alignment because you can micro-adjust without re-tapping the tripod.
In short: ball heads win for speed and workflow, while geared heads win for precision when you’re doing careful, incremental adjustments. Choose based on how often you’ll need to fine-tune composition during a session.
Top tripod buying checklist for stability (use this before you hit “add to cart”)
Here’s the checklist I use to quickly predict whether a tripod will deliver sharp night and long exposure photos. It’s built from the failure points I’ve repeatedly seen in field tests.
Stability-focused checklist
- Center column: Can it sit fully down while still meeting your framing height?
- Leg sections: How many sections does the design use? Fewer sections can be stiffer, but lock quality matters more than count.
- Lock fit: Are the locks easy to tighten without play? Looseness at the joints shows up as micro-drift.
- Head damping: Does it settle quickly after tightening, or do you see it “ring” when you touch the camera?
- Quick-release plate: Does it clamp securely with minimal wiggle? Plate slop becomes blur.
- Feet and terrain: Does it handle your most common ground type (rock, sand, snow)?
Workflow checklist (what keeps you from making stability mistakes)
- Use a remote/interval: Always avoid touching the camera right before exposure begins.
- Disable unnecessary stabilization where appropriate: For many setups, IBIS behavior on a tripod differs by camera model and lens. Use your camera’s current best practice settings.
- Plan your height: Choose a height that you can hold while tightening locks with gloves.
- Don’t “chase” framing repeatedly: Repeated adjustments increase the time you spend moving the system, which increases opportunities for settling problems.
Field-proven setup tips for sharper results with your chosen tripod
Even the best tripod can produce soft photos if you use a setup routine that reintroduces vibration. I use a consistent sequence because it reduces mistakes when I’m tired, cold, or working quickly for changing light.
Long exposure workflow (my repeatable sequence)
- Assemble and level: Legs first, head second. Level the tripod before you mount the camera if your leveling system allows it.
- Mount camera and lock: Tighten the plate, clamp the head, then re-check horizon and framing.
- Set exposure parameters: ND filters, shutter speed, ISO, and focus method. Focus accuracy matters as much as stability.
- Final touch, then wait: Make your last small adjustment, stop moving, then wait 2–5 seconds.
- Trigger exposure: Use a remote release or interval timer to avoid finger movement.
Night photography workflow for star sharpness
- Confirm framing without contact: Use live view zoom/preview to verify sharpness.
- Minimize cable tug: Secure cables to the tripod so they don’t sway.
- Use wider stance: In wind, spread legs and avoid tall extension.
- Expose in sequences: If you’re doing star trails or astro sequences, use interval settings and keep the setup untouched for stability.
If you’re also working with remote tech and interval apps, it’s smart to think about digital security too. I’ve seen photographers lose shoots to compromised laptops and malicious “update” popups. If you want prevention tips, see Cybersecurity for Photographers: How to Protect Your Gear-Connected Workflow and Safe Backup Strategies for Your Photo Shoots (these tie directly into interval and remote setups).
Conclusion: choose top tripods reviewed based on settle time, not marketing weight
Here’s the actionable takeaway: don’t buy a tripod because it looks “solid” in a store or because it’s heavy on paper. Buy based on stability where it counts—settle time after you touch the system, rigidity at the extension height you actually use, and head clamping behavior that doesn’t creep.
My stability tests for top tripods reviewed show the same pattern every season: carbon rigs and well-designed heads win when you keep the center column down and use moderate extension. If you prioritize that workflow, your long exposures clean up, your night photos stop smearing, and your field work becomes less about “hoping” the tripod did its job.
Once you’ve picked a tripod, the real upgrade is consistency: remote triggering, a settle delay, and a setup routine you can repeat in seconds. If you do that, you’ll get sharper frames—regardless of which camera you use.