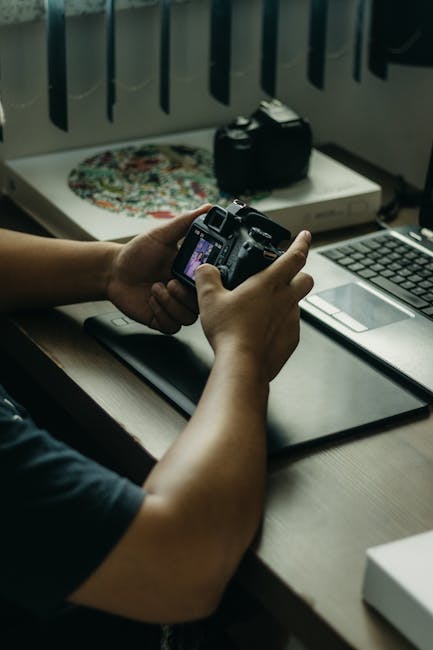
Last year, a wedding shooter I know lost two memory cards and a laptop bag in transit. The hardware was replaceable—what hurt was the client galleries and the raw footage that were already halfway uploaded to “the cloud.” That’s the moment I stopped trusting generic advice like “use a strong password” and started treating every shoot as a cybersecurity workflow.
Photographer’s Cybersecurity Checklist is your practical, field-tested way to secure your camera, laptop, cloud storage, and Wi‑Fi so your images survive theft, misconfigurations, and ransomware attempts. As of 2026 best practice, your threat model isn’t just hackers—it’s also lost devices, accidental sync to the wrong account, and “helpful” sharing settings.
Start with the real threat model (because cameras aren’t the only weak link)
The key takeaway: the most common photography breaches come from account access and device misconfiguration, not from “someone cracking your camera.” Cameras can be targeted, but most incidents trace back to laptops, cloud accounts, or Wi‑Fi during transfers and client review.
In my workflow, I assume four things are always true: (1) you’ll connect to unknown networks at least once per week, (2) you’ll need to move files under time pressure, (3) clients will request “quick previews,” and (4) you’ll sometimes forget to apply the last security step. Your checklist needs to cover those moments.
Here’s a simple threat model you can actually use on set:
- Loss: camera body, card reader, laptop, external drive, or phone goes missing.
- Leak: you upload to the wrong cloud account or share a link publicly.
- Ransomware: malware gets onto your laptop via a compromised Wi‑Fi network, infected client laptop, or a malicious attachment.
- Interception: someone captures your credentials on a rogue Wi‑Fi access point.
When you plan for these four, the checklist becomes much more than “security theater.”
Photographer’s Cybersecurity Checklist for your camera and memory cards
The key takeaway: protect the data at the source by combining physical safeguards, encryption, and disciplined card handling. The goal is simple: if a card disappears, the images should still be unreadable to whoever finds it.
Enable on-camera encryption and lock down file access
Many modern cameras support hardware encryption on the card (often via a security menu). Encryption is not a substitute for backups—but it buys you time and reduces the damage if cards are lost or stolen.
Practical steps I recommend in 2026:
- Go to your camera’s Security or Data Encryption menu and turn on card encryption.
- Set a firmware/app update schedule so you’re not stuck on a known-vulnerable build. Even one missed update matters during a big event season.
- Use a strong, unique encryption passphrase stored in your password manager (not in your camera notes folder).
What most people get wrong: they enable encryption but keep the key in plaintext in a sticky note inside the camera bag. If the bag is stolen, the “secret” is stolen too.
Use a card workflow that prevents accidental overwrite and contamination
Security isn’t only encryption. It’s also preventing the “oops” that causes you to reformat a card you needed, or to merge the wrong data into the wrong client project.
I use a naming + labeling routine so I can audit quickly:
- Label cards with event name + date + sequence (e.g., BRI_2026-04-02_A1).
- Never reformat until you’ve verified two things: files copied successfully and checksum/verify pass completes (more on verification later).
- Keep a “quarantine” drive folder for suspect files until you inspect them.
If your camera supports write-protect, enable it whenever you’re not actively shooting. A lot of accidental overwrites happen during gear swaps, not during shooting.
Physically secure cards like they’re cash
Cards and card readers are small enough to vanish. For travel jobs, I treat them like cash:
- Keep spare cards in a rigid, zippered pouch inside the carry-on—not in jacket pockets.
- Use a lanyard or tether for the reader when you’re tethered at venue tables.
- Photograph your kit bag contents before leaving home (time-stamped photos help recovery claims).
Photographer’s Cybersecurity Checklist for your laptop, drives, and card readers
The key takeaway: your laptop is your control center, so it needs encryption, least-privilege access, and malware resilience. Most photographer workflows are “fast and functional” but not “safe by default.”
Encrypt the laptop and any portable drives (start with full-disk encryption)
Full-disk encryption is what keeps your raw files safe when the laptop is stolen. For Windows, BitLocker is standard. For macOS, FileVault is standard. I also encrypt external drives using tools that integrate with your OS so recovery stays straightforward.
My personal minimum:
- Laptop: full-disk encryption always on.
- Portable SSD: encrypted container or drive encryption before the first job.
- Client-export drives: encrypt if they leave your sight (especially for event work).
As of 2026, I don’t accept “I’ll just be careful.” If you do this professionally, encryption is a business requirement, not an optional bonus.
Build a “transfer-only” workflow folder and limit permissions
Here’s an original workflow insight I use: I separate roles inside the same machine so one compromised action can’t cascade across everything.
Create three folders at the root of your workspace drive:
- 01_INGEST (raw copies land here)
- 02_VERIFY (verification reports/logs only)
- 03_EDIT (only after verification passes)
Then set permissions so your editing software can read from 03_EDIT but cannot freely write back into 01_INGEST. On Windows, that means careful folder permissions. On macOS, it means user-level controls and avoiding admin browsing.
Use known-good card readers and keep them clean
Card readers are a weird security hotspot. They’re often shared between jobs, plugged into unknown USB ports, and handled by multiple people. Don’t underestimate connector damage either—errors cause retries, and retries cause sloppy behavior.
- Use one dedicated reader per camera system when possible.
- Prefer readers with good firmware reliability and avoid mystery “no-name” hubs.
- Inspect ports and cables before each job; replace anything that feels loose.
If you ever plug a reader into a suspicious computer, treat all cards ingested afterward as potentially compromised until you verify.
Stop malware before it starts: updates, browser hygiene, and restricted execution
Malware on a photographer’s laptop rarely starts with a camera hack. It starts with a browser tab, a “codec pack” download, or someone sending a file expecting you to open it.
Do this consistently:
- Enable automatic OS updates (or enforce a weekly update window).
- Use a reputable antivirus/endpoint protection solution.
- Disable autorun/autoplay for removable media.
- Don’t install random “DJI/Canon/Camera Fix” utilities unless they’re from the vendor.
If you work with clients who send attachments, use a sandbox or virtual machine for unknown files. Not every photographer needs this on every job, but if you do commercial work or events where client IT is mixed quality, it’s worth it.
Photographer’s Cybersecurity Checklist for cloud backups and client sharing
The key takeaway: cloud storage security is about access control and how you share. Ransomware often encrypts local files first—but client workflows often depend on cloud access that can be compromised through weak sharing settings or reused passwords.
Turn on MFA everywhere (and don’t rely on SMS)
MFA is non-negotiable for cloud storage and password managers. Use an authenticator app or hardware security key when available. SMS is better than nothing, but it’s not strong enough for modern threat scenarios.
My rule: if the service supports security keys (FIDO2/WebAuthn), use them. If it doesn’t, use an authenticator app and store recovery codes offline.
Use separate cloud accounts or at least separate access roles
One account that hosts everything (client galleries, your raw archive, your editing presets, your invoice PDFs) becomes a single point of failure. A better approach is role separation:
- Archive account: holds raw backups and long-term storage.
- Client sharing account: used for galleries and previews.
- Team/admin accounts: separate credentials for assistants.
This reduces the blast radius if an assistant’s device is compromised or if a sharing link leaks.
Lock down sharing links: expiry dates, password protection, and “no public indexing”
Most cloud leaks I’ve seen aren’t hacking—they’re accidental exposure. Set every gallery to:
- Link expiry (e.g., 7–30 days depending on your contract)
- Password protection for downloads
- No public indexing / no “anyone with the link can find it” settings
Real-world scenario: a client requests “send the gallery link” from a hotel Wi‑Fi hotspot. You generate a link while authenticated on your laptop. If you forget to set expiry and indexing rules, anyone with the URL can access long after the client wants it.
Encrypt before you upload (especially for raw or sensitive projects)
Cloud providers encrypt data at rest, but client contracts and professional standards often call for end-to-end-style thinking. For sensitive shoots—ID photos, legal events, or confidential commercial work—encrypt before upload.
Practical approach:
- Create an encrypted archive (e.g., ZIP/7z with strong encryption, or an encrypted volume) on ingest.
- Upload the encrypted file to cloud.
- Store the encryption key in your password manager, not in the same folder as the archive.
This adds time, but it dramatically changes the outcome if a cloud account is accessed improperly.
Photographer’s Cybersecurity Checklist for Wi‑Fi and file transfers (where most chaos happens)
The key takeaway: Wi‑Fi is where credential theft and “risky convenience” live. If you transfer files in public venues, your checklist must include secure connections and strict transfer discipline.
Never use public Wi‑Fi for logins or gallery uploads without protection
Public hotspots are prime territory for man-in-the-middle attacks. You can still be productive, but you need a secure channel.
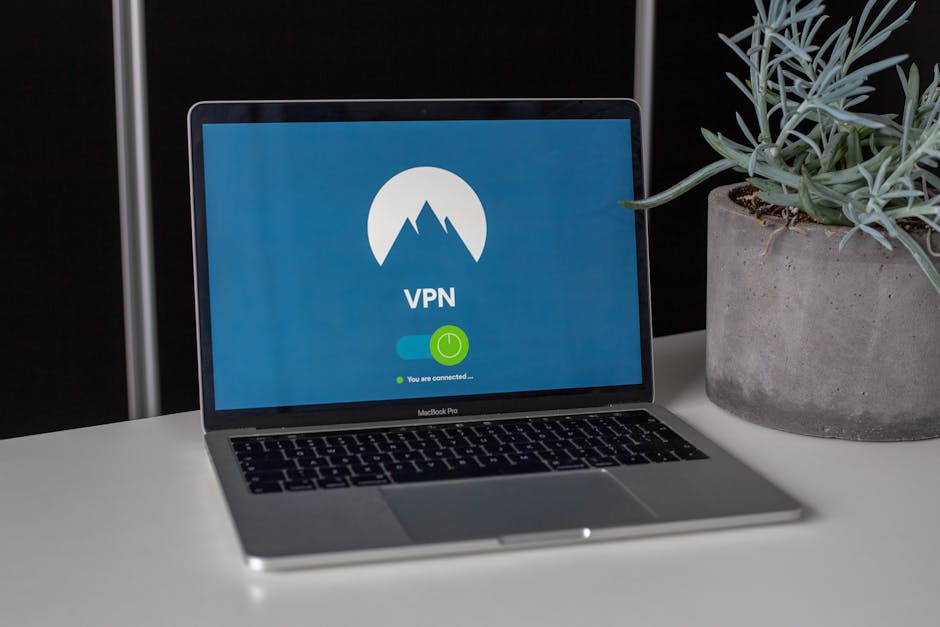
My default setup for 2026:
- Use a reputable VPN with a kill switch.
- Log in only when VPN is active and stable.
- Prefer tethered data (phone hotspot) over unknown venues when deadlines are tight.
If your client insists on using a venue network for a quick review, consider moving review to a device with locked-down browser sessions, or use offline previews and upload later.
Prefer offline ingest + verified copies over “streaming” to the cloud mid-shoot
Streaming upload during shooting creates new failure modes: partial uploads, conflicting versions, and logins interrupted by captive portals. A more reliable method is to ingest locally and verify before syncing.
Workflow I use on travel jobs:
- Ingest to 01_INGEST.
- Verify checksum.
- Only then copy to the backup target and (optionally) to a cloud sync location.
It’s slower at the start, faster in outcomes, and less stressful when the venue Wi‑Fi collapses.
Use a firewall and disable risky network discovery features
On Windows, ensure your firewall is on. On macOS, keep system firewall enabled. Also disable “network discovery” when you’re traveling and not actively sharing with a trusted device.
These settings aren’t flashy, but they reduce the chance of another device on the network seeing your laptop shares or services.
Verification and backups: the part that stops ransomware from winning
The key takeaway: you’re not fully secure until you can recover quickly. Backups aren’t “nice to have”—they are your recovery plan when devices or accounts fail.
Use checksums every time you ingest (it’s faster than you think)
Verification is your insurance against silent corruption. I recommend generating checksums during ingest and storing the verification output in 02_VERIFY.
What this means in practice:
- Copy from card to local ingest drive.
- Run checksum verification.
- Only after success, proceed to editing and sync.
If you’ve ever noticed “some files imported but playback is weird,” checksums catch those issues early instead of weeks later when a client expects final deliverables.
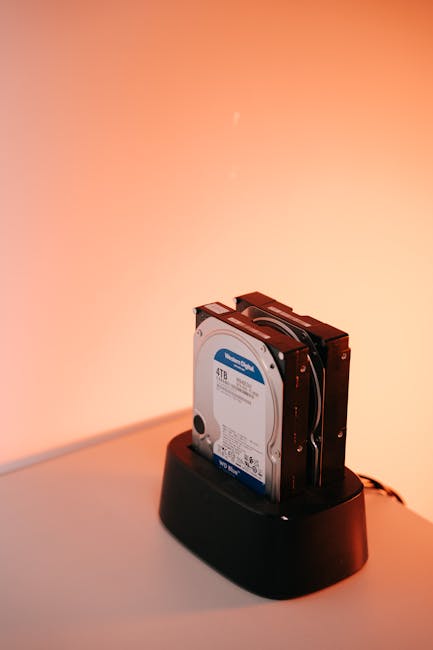
Follow 3-2-1 for serious work, and keep “one copy offline”
3-2-1 is the baseline: three copies of data, two different media types, one offline copy. For photographers, I suggest:
- Copy 1: Local ingest/edit drive
- Copy 2: Encrypted external SSD/drive
- Copy 3: Cloud backup (access-controlled)
- Offline bonus: A drive you unplug after backup so ransomware can’t reach it
Original angle: photographers often unplug external drives at the wrong time. The moment you forget to eject before exporting a large collection is when drive activity spikes and ransomware has time to encrypt. My rule is: backup, verify, then fully disconnect immediately.
Test restores, not just backups
Ransomware doesn’t care that you “have backups.” You need to know you can restore the exact folder structure and file types your editing pipeline expects.
Schedule a restore test at least once per quarter. Pick a small sample (for example, 200–500 RAW files), restore to a clean folder, and confirm they open in your editing tool.
People Also Ask: Photographer cybersecurity questions
Do I need antivirus if I only edit photos?
Yes. Photo editing tools aren’t usually the problem; the problem is the path malware takes to reach your laptop—malicious downloads, compromised attachments, or a rogue update link. Antivirus and endpoint protection help stop the initial infection so it doesn’t start encrypting when you connect drives.
Keep your protection updated and avoid “free codec packs” from random sites. If you don’t know the source, treat the download like a risk, not a convenience.
Should I use public cloud storage for client galleries?
You can, as long as your gallery sharing controls are locked down. Use MFA, password-protect download access, set link expiry, and disable public indexing. Also avoid reusing the same account across multiple responsibilities.
If you handle highly sensitive work, encrypt before upload and consider a more controlled storage approach.
Is Wi‑Fi really a cybersecurity risk for photographers?
Absolutely. Wi‑Fi risks include credential theft via rogue access points, session hijacking, and captive portal confusion that pushes you to log in on the wrong page. If you must work on public networks, use a VPN and limit logins to trusted times.
Better yet, do ingest and verification offline, then sync when you’re back on a secured connection.
How do I secure my camera if it has no encryption?
Use operational safeguards. If your camera doesn’t support encryption, your next best controls are physical security, write-protect, encrypted storage volumes for transfers, and tight handling of cards. Encrypt the ingest drive and keep verification logs so you can detect anomalies fast.
Also, avoid leaving the camera unattended in rooms where cards can be swapped or devices can be accessed without your knowledge.
A practical 15-minute “pre-shoot” checklist you can actually follow
The key takeaway: you don’t need a 2-hour security lecture. You need a repeatable routine that fits into your gear setup.
Before you leave home, run this quick sequence:
- Unlock your password manager and confirm MFA works for your cloud + gallery platform.
- Verify encryption is enabled on your laptop (FileVault/BitLocker) and your portable SSD.
- Check firmware updates for camera and any card reader/monitoring apps you rely on.
- Confirm your ingest folders exist: 01_INGEST, 02_VERIFY, 03_EDIT.
- Confirm verification tool runs correctly by ingesting a small sample file set.
- Preconfigure gallery settings: password on, expiry on, no public indexing.
If you do these steps, your “unknown venue” problems shrink dramatically.
Comparison: What to do vs what people assume (and why it matters)
The key takeaway: many photographers assume the most expensive step equals the most secure step. It doesn’t. The secure workflow is about preventing account and transfer failures, not just buying better gear.
| Assumption | Reality | What to do instead |
|---|---|---|
| “My camera is secure because it’s a camera.” | Most breaches target storage transfers and accounts. | Encrypt cards (if supported) + encrypt laptop and drives. |
| “Cloud backups are always safe.” | Sharing settings and account access are common failure points. | Use MFA, link expiry, password protection, and separate roles. |
| “Public Wi‑Fi is fine if I’m careful.” | Care doesn’t stop rogue access points and session hijacks. | Use a VPN with kill switch or switch to tethered data. |
| “Backups mean I can recover instantly.” | Corruption or ransomware can break restores. | Run checksums and test restores quarterly. |
Gear and tech choices that support security (not just speed)
The key takeaway: some tools are “security-friendly” by design, and they reduce how many steps you have to remember under stress.
Portable SSDs with encryption and reliable controllers
I prefer portable SSDs that make encryption straightforward and consistent. If your encryption setup is complicated, you’ll skip it under deadline pressure—which defeats the purpose.
When shopping (and this ties into our gear reviews section), don’t only compare write speeds. Compare:
- Encryption support quality
- Drive firmware update habits
- Connection stability (USB-C cables matter here)
Password managers and hardware security keys
Using a password manager is the fastest win for photographers with multiple services: camera vendor accounts, cloud storage, galleries, accounting, and client portals.
For additional protection, security keys reduce the chance that someone can reuse or guess credentials. If you use a key, store it like your best lens—protected, not tossed into a random pocket.
Related: if you’re building your workflow, our backup and file management workflow article pairs well with this checklist.
When this checklist doesn’t fully apply
The key takeaway: not every photographer has the same constraints. I’m not pretending this fits every budget or every camera model perfectly.
If your camera lacks encryption, you’ll rely more heavily on encrypted ingest drives and strict card handling. If you shoot film scans through shared studio computers, you’ll need stricter session control, separate users, and possibly a dedicated “no shared devices” rule.
And if you’re a one-person freelancer with very light volume, you still should do the core essentials: encryption, MFA, secure transfers, and verified backups.
Conclusion: secure images by securing the workflow, not just the gear
Your images are valuable, but your real “asset” is your trust with clients. The fastest path to protect that trust is to treat the entire Photographer’s Cybersecurity Checklist—camera → ingest → laptop → cloud → Wi‑Fi sharing—as one connected workflow.
Do these three things first: enable encryption where available, turn on MFA everywhere with non-SMS options, and verify + isolate backups so ransomware can’t erase your deliverables. Once those are in place, you can handle venue Wi‑Fi surprises and last-minute client requests without gambling your archive.
If you want to go deeper, explore our Tutorials & Tech posts for hands-on setup guides that complement this checklist—especially around ingest verification and safer sharing practices.
Featured image alt text suggestion: Photographer’s cybersecurity checklist securing camera, laptop, cloud, and Wi‑Fi workflow with encrypted card and verified backup.